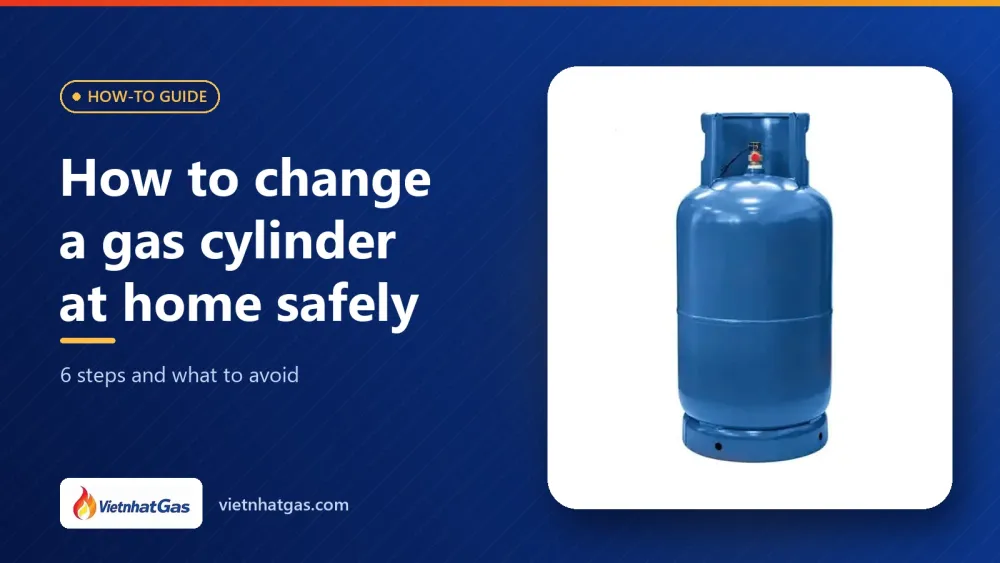
How to change a gas cylinder at home safely: 6 steps and what to avoid
A guide on how to change a gas cylinder at home safely: preparation, closing the valve, removing and fitting the regulator, checking the new cylinder, testing for leaks with soapy water, what not to do and when to call your dealer.
VietnhatGas · · 4 min read
Running out of gas in the middle of cooking is a familiar situation for many households. The dealer usually fits the cylinder for you, but knowing how to change a gas cylinder in the right order lets you take charge, check the new cylinder and spot leaks early. Below are the steps for a household gas cylinder, along with the things you should not do.
Preparing to change the cylinder
A new gas cylinder of the right brand, with a cylinder valve of the same type as the regulator you are currently using.
Soapy water mixed thick in a small bowl, and a brush or sponge for testing for leaks.
Open the doors so the kitchen is well ventilated; put out other sources of fire such as charcoal stoves and incense.
How to change a gas cylinder: 6 basic steps
Step 1: Turn off the stove and close the valve on the old cylinder
Close the cylinder valve first (handwheel valve: turn it in the closing direction until hand-tight; clip-on valve: move the lever on the regulator to the closed position). Let the flame go out by itself once the gas left in the hose has been used up, then turn all the stove knobs to the off position.
Step 2: Remove the regulator from the old cylinder
Screw-on type: turn the nut or handwheel in the direction given in the manufacturer’s instructions (some types have a thread that turns the opposite way to normal). Use your hands only.
Clip-on type: check that the locking lever is closed, pull the coupling collar up, then lift the regulator off.
Step 3: Check the new gas cylinder
The seal and the protective cap over the valve are intact.
The brand, manufacturer details and inspection date on the cylinder are clear and still valid.
The cylinder has no deep dents, pitted rust, bulges or scorch marks; the foot ring and carrying handle are sturdy.
The rubber washer in the valve outlet (on types that have one) is present, not cracked and not hardened.
Remove the seal and the protective cap, and wipe the valve outlet clean. Position the regulator squarely in the centre and screw it on by hand until tight, or press the clip-on coupling down until it locks. When fitted correctly, the regulator is neither loose nor tilted.
Step 5: Test for leaks with soapy water
Open the cylinder valve (or move the lever to the open position) and brush soapy water over the joint between the cylinder valve and the regulator, and over the hose connections. Bubbles that keep growing mean there is a leak: close the valve, refit the regulator or replace the washer; if it still leaks, call your dealer. Detailed instructions are in how to check for gas leaks at home.
Step 6: Light the stove and watch
Only turn the stove on when there are no bubbles and no unusual smell. A steady blue flame is good; if the flame is weak, red or keeps going out, turn off the stove, close the valve and check again.
What not to do when changing a cylinder
Do not use a lighter or matches to test for leaks in any way.
Do not use pliers, a hammer or a spanner to force the regulator on when it will not fit; fitting it off-centre damages the thread and the washer.
Do not tilt, roll or lay down the gas cylinder while fitting it or while it is in use.
Do not smoke, and do not switch electrical appliances on or off near where you are changing the cylinder.
Before connecting a new cylinder, you can weigh it to make sure it is properly filled; our article on weighing a cylinder and working out the gas received explains how to choose suitable scales and what to do if a cylinder is short.
Frequently asked questions
Is a faint smell after changing the gas cylinder a problem?
A brief smell while removing and fitting the regulator can happen and clears quickly with ventilation. If the smell lingers, close the valve, open the doors and check with soapy water; if you can still smell gas, call your dealer.
Do I need to replace the rubber washer every time I change the cylinder?
It is not compulsory, but a hardened, cracked or missing washer is a common cause of leaks. Check it every time you change the cylinder and replace it when it is damaged.
What should I do if the stove will not light after opening the valve on a new cylinder?
Check that the regulator is properly fitted and that the locking lever is open. If there is still no gas, close the valve and tell your dealer; do not tamper with the cylinder valve yourself.
VietnhatGas manufactures 12kg LPG cylinders, 45kg cylinders and cylinder valves for dealers and filling plants. Send a request on our quotation page.
Written by the VietnhatGas technical and sales team — a batch manufacturer of LPG cylinders. This content is for reference; regulations and standards may change, so please check the current texts.
The process for filling LPG into cylinders at a filling plant: receiving and sorting cylinders, checking inspection dates, filling by weight, leak testing, sealing and dispatch.
Transporting gas cylinders safely: choosing the vehicle, keeping cylinders upright and firmly secured, closing the valve, handling with care, dealing with a leak on the road and what to watch when delivering to customers’ homes.
Where to place a gas cylinder at home safely: a well-ventilated spot, upright, away from heat and electrical appliances, avoiding enclosed low-lying spaces because gas is heavier than air, with notes on kitchen cabinets and flats.
Read article →
Need a volume quote?
Send us the capacity, quantity and brand printing requirements — VietnhatGas will reply with a batch quotation.